Home Network Switch with OpenBSD
Home Network Switch with OpenBSD
My latest venture into the world of networking lead me to throw together a simple home network switch based on OpenBSD 5.4. I was watching a tutorial on building an openbsd router from the bsdnow podcast and that inspired me to try just a simple switch. My current router is a mini-itx intel atom board running PfSense. Side note … PfSense is awesome! Anyways I did some googling and didn’t really find anything like this so I thought it would be a good thing for my first tutorial. Some of the content of this tutorial is borrowed from the openbsd router tutorial from bsdnow.tv. Full credit for those portions goes to them. So here it is!
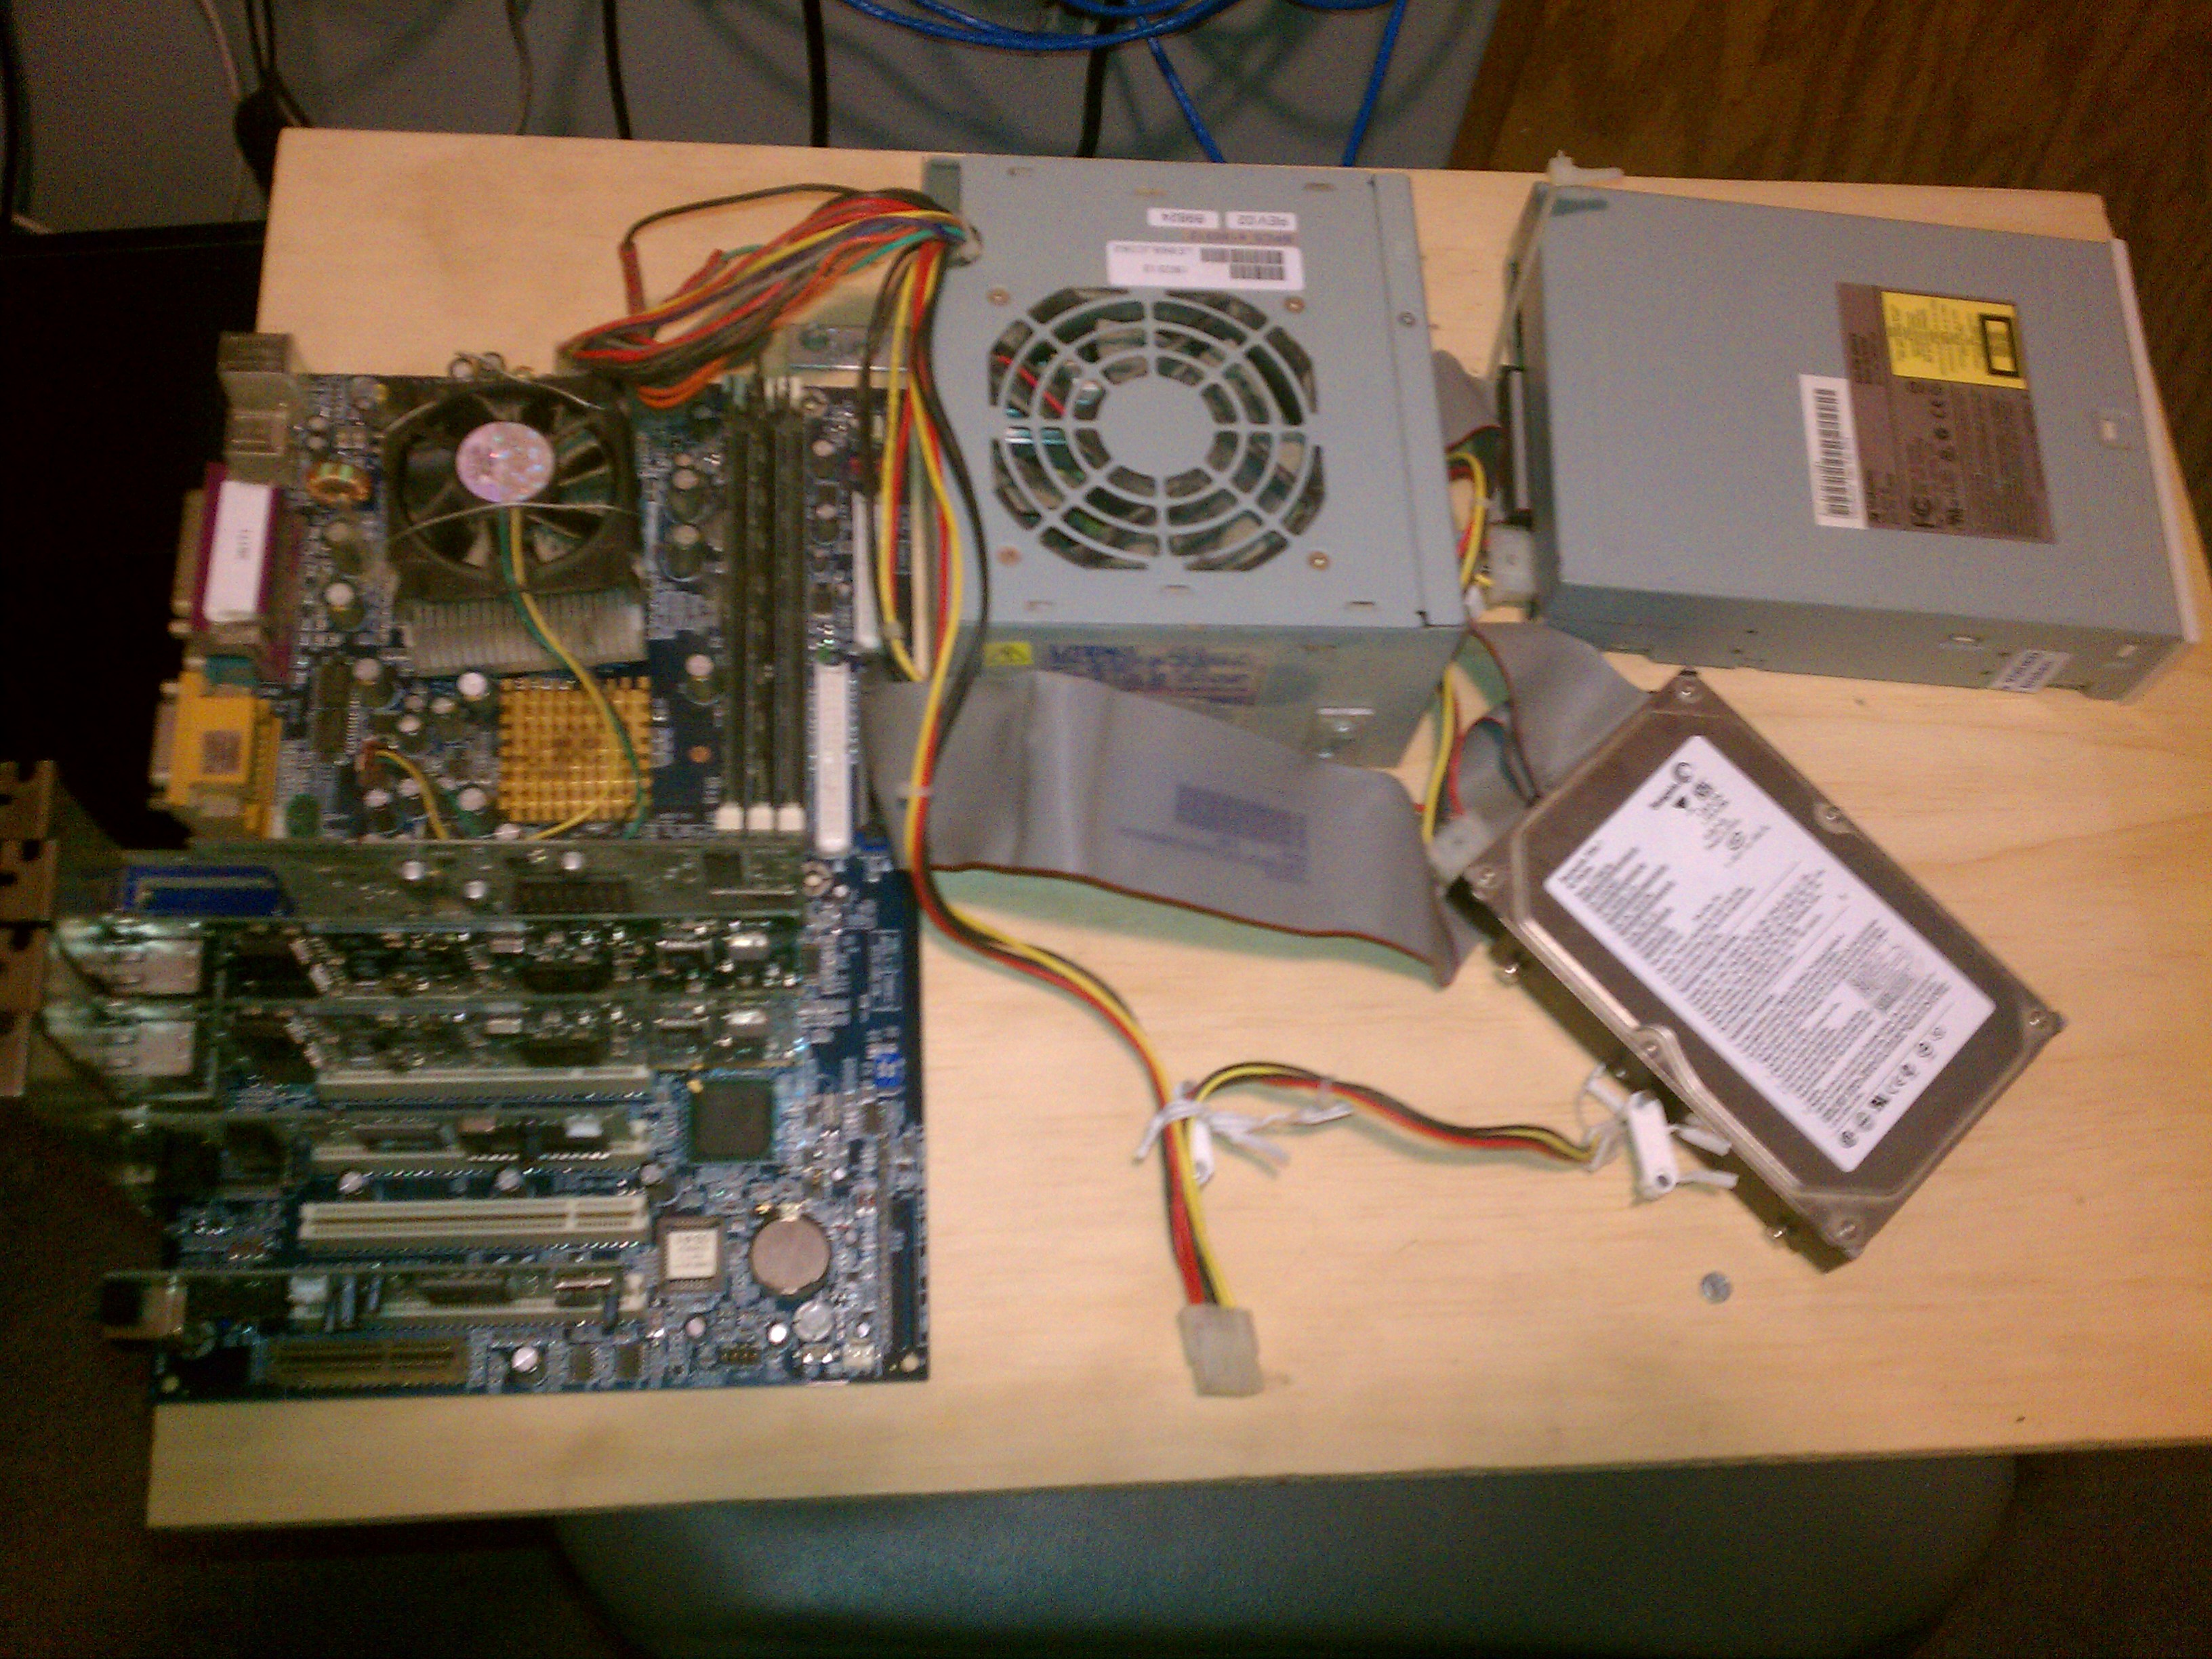
First a little about my hardware. I took an old PIII box and mounted it all to a board so I could easily work with it. I use this setup to test whatever I feel like at the moment. Cheap hardware is good for playing with since it won’t matter much if it dies. I plugged in 2 intel dual port server nics and 2 Realtek desktop nics that I had sitting around and installed OpenBSD 5.4 on a 40GB IDE disk.
Now for the tutorial. I assume you know how to ssh into the openbsd machine. You can also just type in the commands from the local console if you prefer. This this tutorial will be done from a terminal. I tried to insert the commands so they could be easily copied into an ssh shell. This tutorial is only setup for IPv4. Ipv6 can be enabled
Set up network cards. I have 6 nics in this machine. 5 will be bridged together for the switch and the other one will be my management nic. Doing it this way will hopefully keep me from locking myself out while configuring the bridge. My nics are em0, em1, em2, em3, rl0, and rl1. rl1 will be my management interface. This step will have to be done at the console to set up some networking to be able to ssh into the machine. Skip this step if you set up a nic during installation that you want to use for this.
echo "dhcp" > /etc/hostname.rl1
Reboot the machine now. After it restarts you should be able to ssh into the system over the rl1 nic.
Disable the pf firewall since this is only a local network switch you didn’t want any firewall rules to get in the way. The following commands will disable the firewall and not start it at boot.
pfctl -d
echo "pf=no" >> /etc/rc.conf.local
Set up switch nics. Repeat this command for each nic you are adding to the bridge. Your network card names will vary depending on the kind of nics you have. This tutorial is only setup for IPv4. Ipv6 can be enabled by adding the -inet6 option to each interface.
echo "up media autoselect" > /etc/hostname.em0
echo "up media autoselect" > /etc/hostname.em1
echo "up media autoselect" > /etc/hostname.em2
echo "up media autoselect" > /etc/hostname.em3
echo "up media autoselect" > /etc/hostname.rl0
Set up bridge nic. You will need to set the network info to match you local subnet. This is just an example of mine.
echo 'inet 10.10.1.20 255.255.254.0 10.10.1.255' > /etc/hostname.vether0
Set up bridge interface. I prefer the nano editor but you can use whatever you prefer.
nano /etc/hostname.bridge0
Mine looks like this:
add vether0
add em0
add em1
add em2
add em3
add rl0
up
You will have to adjust the file based on your nics.
Enable IP forwarding and a couple of performance options. The kern.bufcachepercent option sets the amount of system ram to be used a switch cache. The net.inet.ip.ifq.maxlen variable should be set to 256 times the number of nics in the switch. 256*5=1280 for this example.
echo "net.inet.ip.forwarding=1" >> /etc/sysctl.conf
echo 'kern.bufcachepercent=50' >> /etc/sysctl.conf
echo 'net.inet.ip.ifq.maxlen=1280' >> /etc/sysctl.conf
Reboot and plug in some cables to your new switch! The next step will be to do some performance testing :-)


